
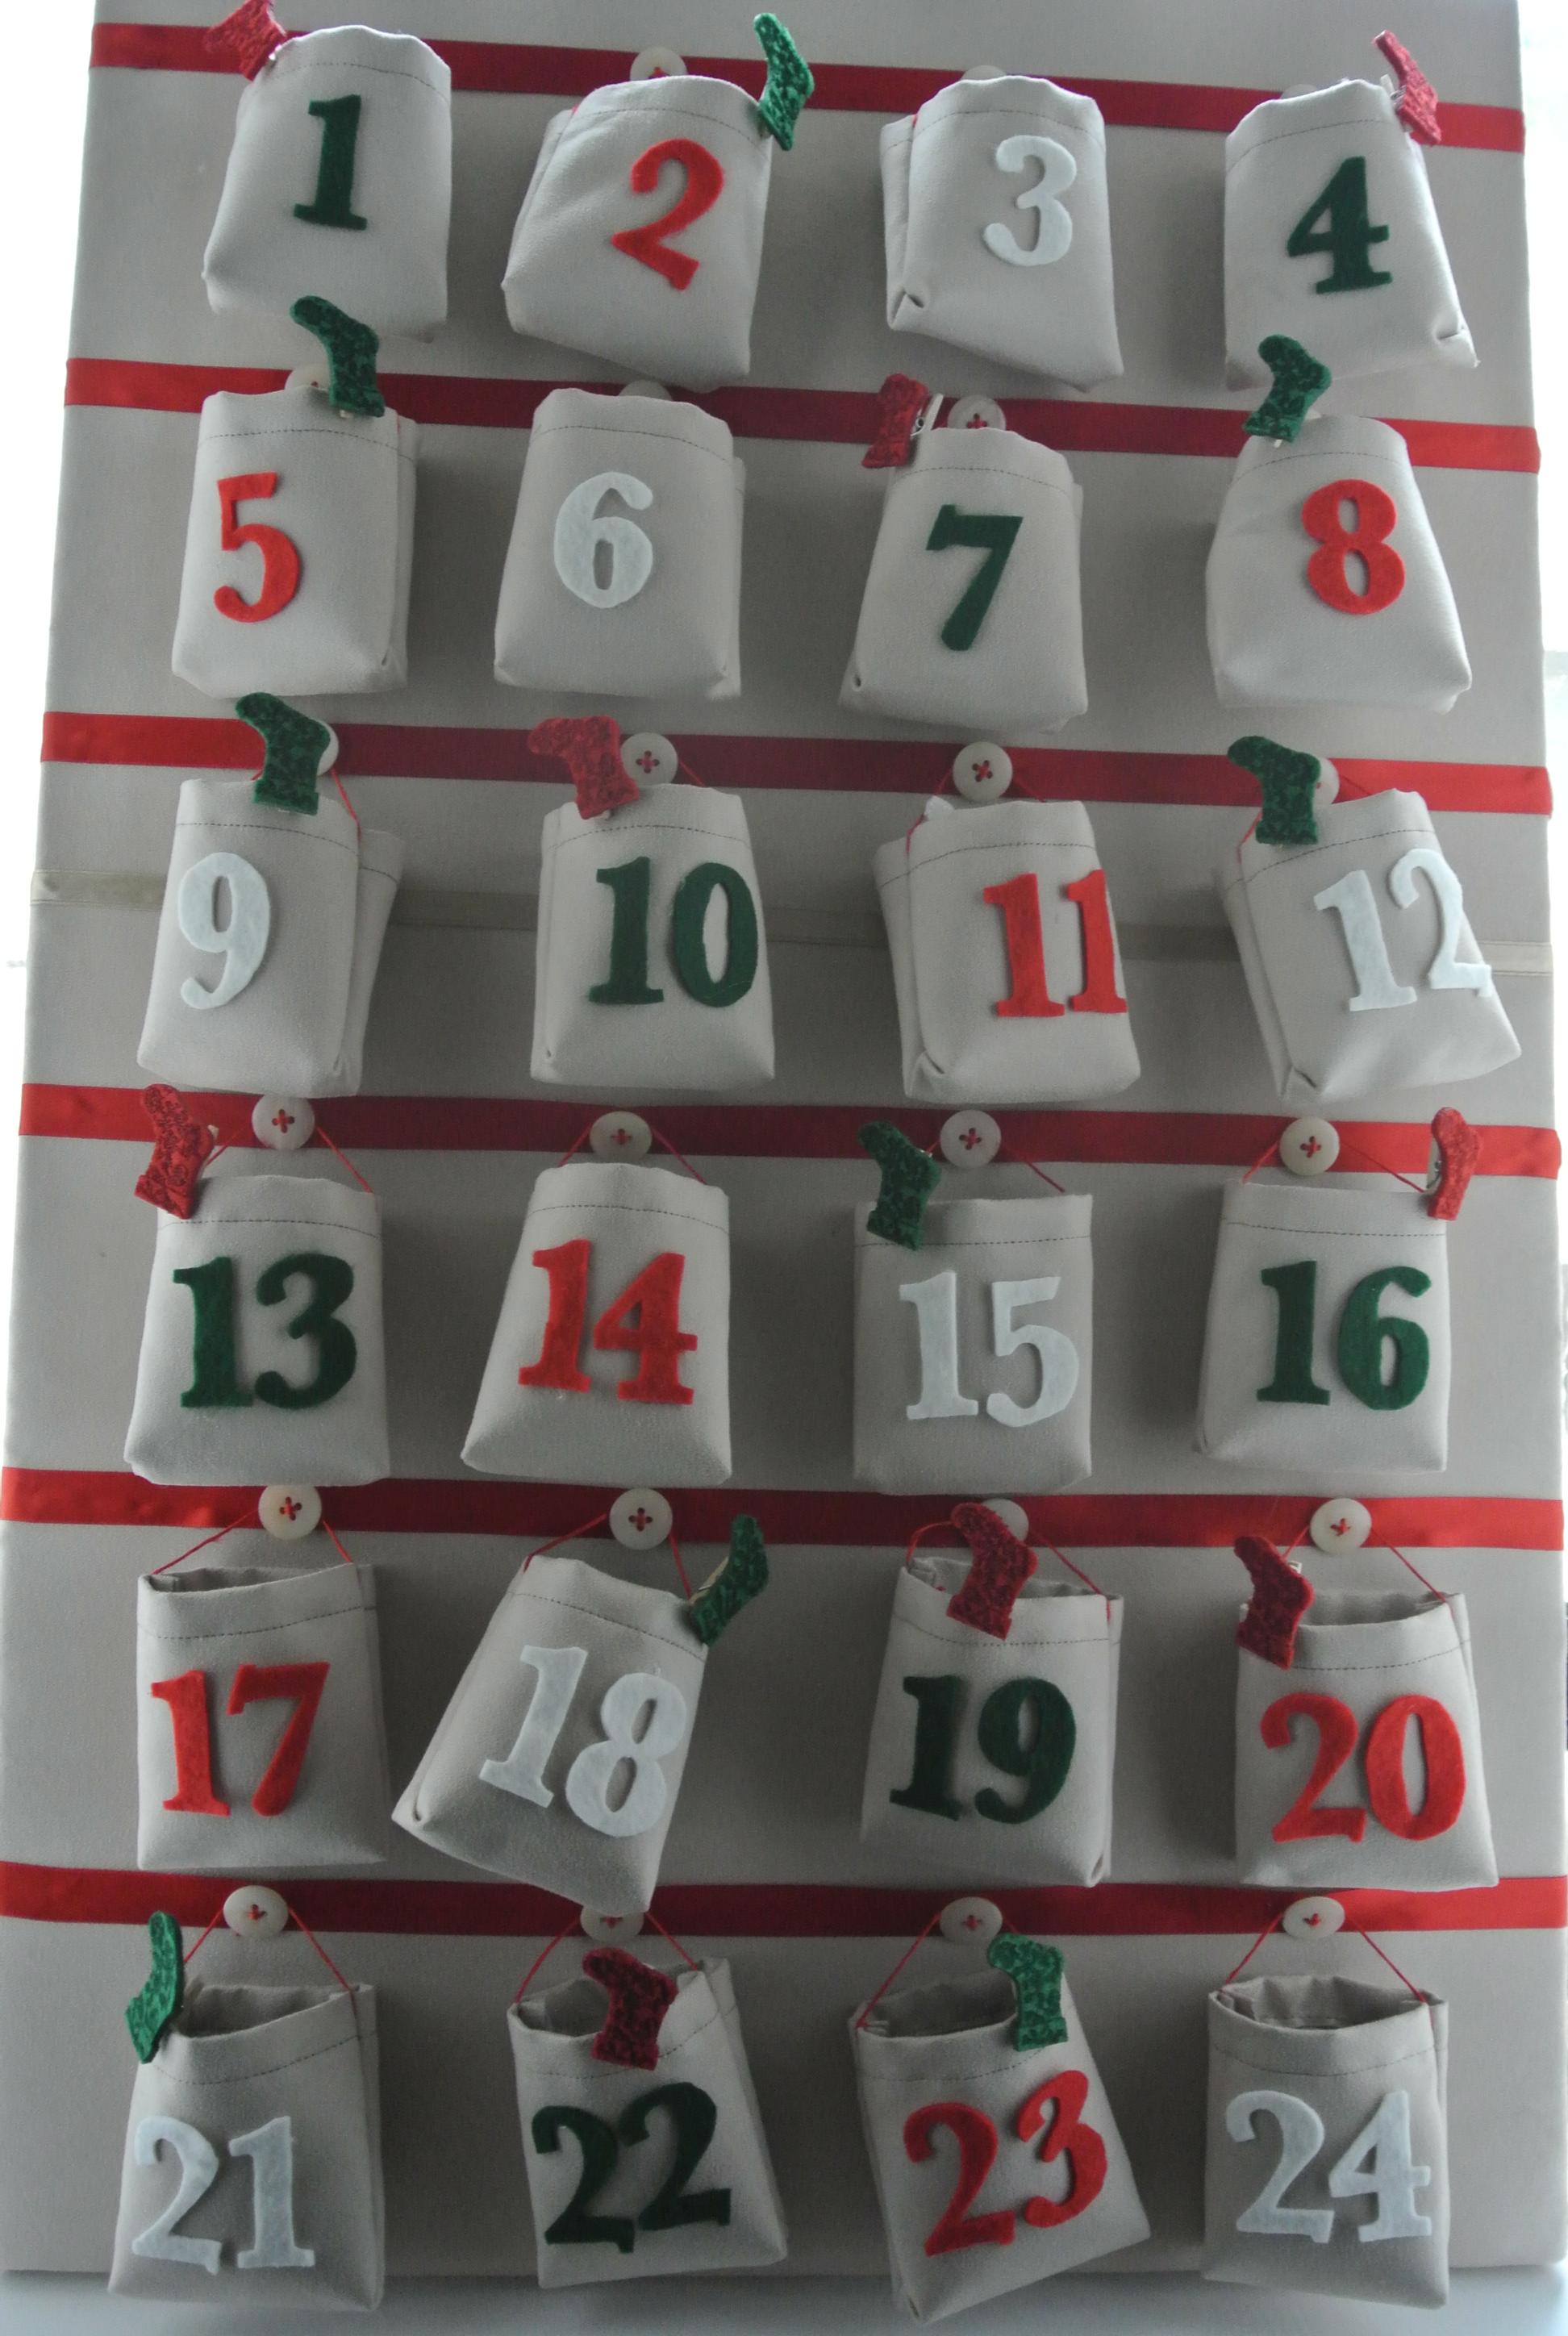
 I love Christmas, it’s always been my favourite holiday, the family gatherings, the twinkling fairy lights, wafts of cinnamon running through the house, simmering mulled wine, beautiful trees, excitement, anticipation, warm cuddles, and, well, I could go on and on and on. I especially love all the traditions that you look forward to every year, at least we did and it always made everything that much more special.
This year, we’ll be celebrating our first Christmas with our son and I wanted to start our own family traditions. Growing up, we always had advert calendars of one kind or another, mostly the kind that are filled with little chocolate goodies and up until this year, my husband and I had a lovely tree advent calendar that had little individual drawers that we bought the second Christmas we were together and we just fill it with little yummy chocs every year.
Of course, I wanted to have an advent calendar that H could enjoy but he’s still very young for chocolates (and he won’t be able to have much chocolate anyways) and I thought it would be great to create a larger advent calendar which would contain:
little ornaments (that I am also making) that would be his to hang on the tree
(I will keep the same ones every year, and add maybe one or 2 special new ones as a surprise)
activity cards to do together

Here is what I used to make this advent calendar:
- 45cm x 70cm old canvas frame
- fabric for background 75cm x 100cm
- fabric for 24 pockets (24 pieces – 20cm x 10cm)
- red, white and green felt
- paper and printer
- 24 white buttons
- stocking clip decorations
- 6m red ribbon
- red embroidery floss
- thread
- scissors, 3 sizes
- sewing machine
- hot glue gun
- cello tape
- pins
Frame:
Heat up your glue gun
Centre the frame onto the background fabric and start by gluing one side over the edge of the frame to the back.
Repeat for all 4 sides. For corners, neatly fold the fabric and glue the ends in the back.
Background:
Measure 6 equal pieces of ribbon and place 4.5cm from the top of the frame and pin the ribbon to the side of the frame to keep its marking.
Pin the next ribbon 11 cm down and continue with all ribbons, 11cm apart, pinning it in place as you go along. Make sure that the right and left sides have equal distances between the ribbons or you’ll end up with slanted ribbon.
Start placing the buttons, 7.5cm from each edge, left and right and 10cm between each button in between.
I pinned them in place, pushing the pin through the bottom fabric to hold the button in place.
Place a pin at the edge of the ribbon on each row, on each side to mark the place of the ribbon and leave the pins in place. Remove one pin at a time that are holding the buttons and start sewing the buttons in place, but leave one edge of the ribbon pinned in place. You should now have a loose ribbon with buttons on it, put hot glue on the back of the ribbon and using the pins as guides, glue the ribbon to the background.
Numbers:
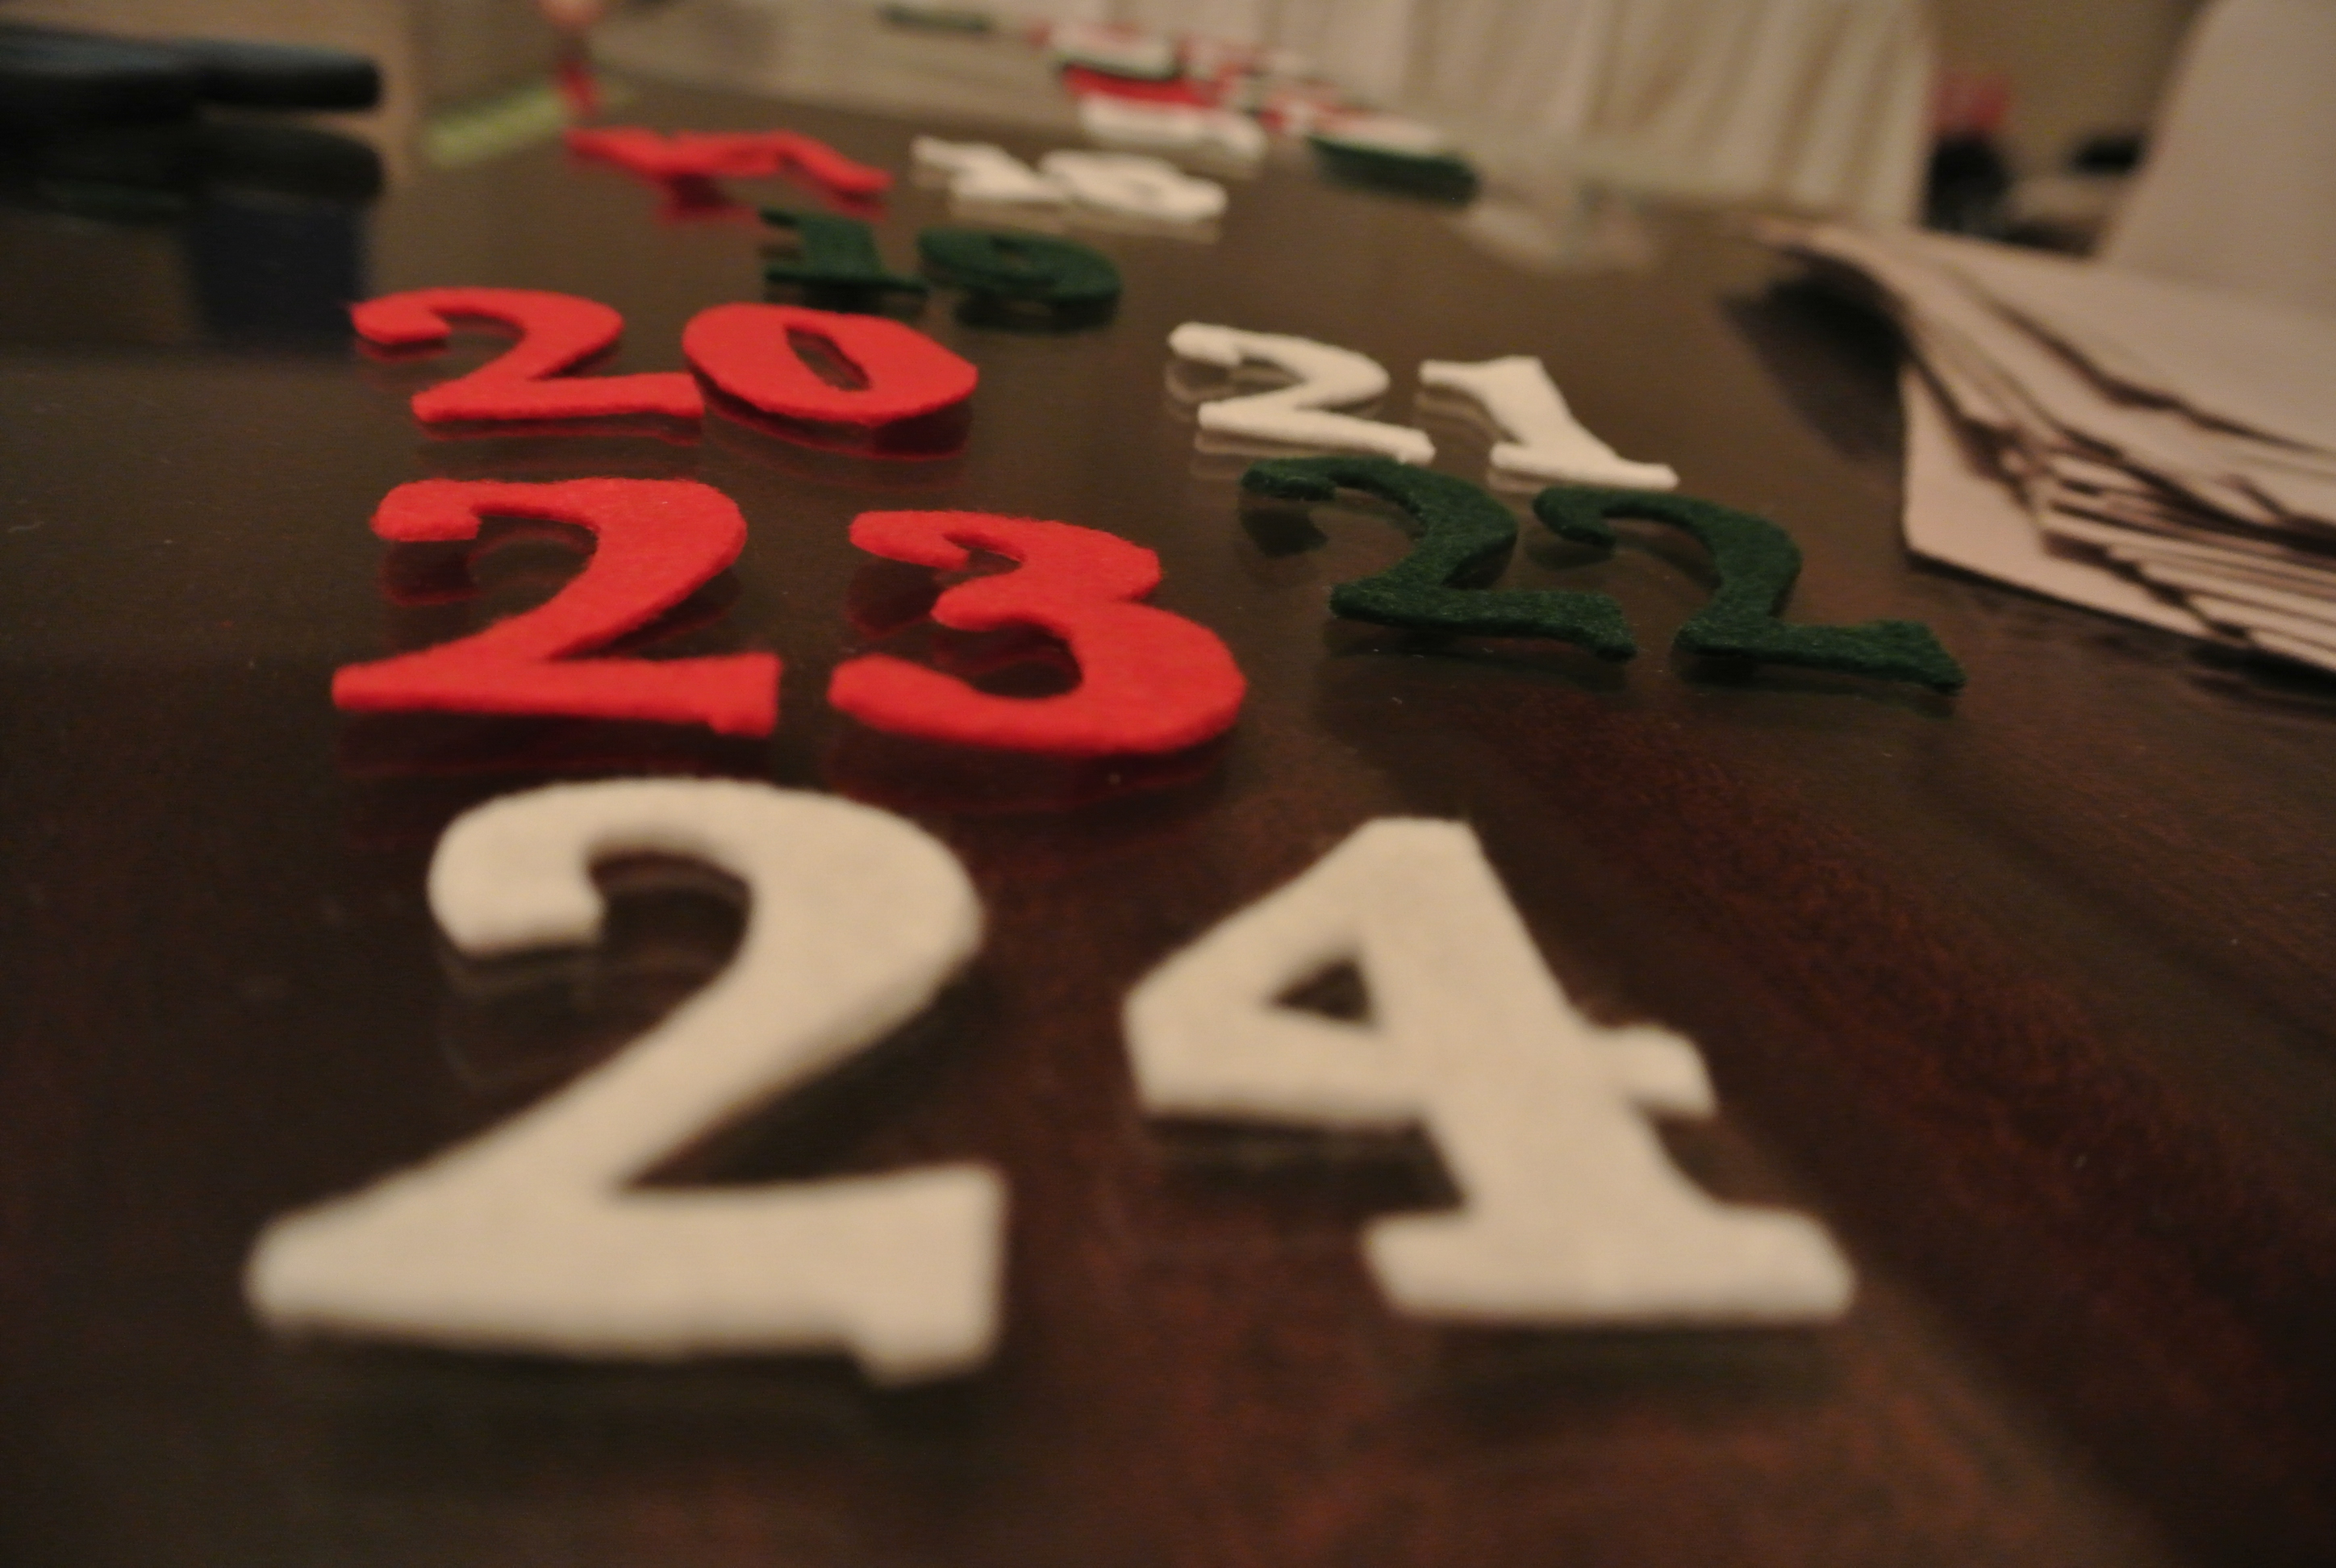 Download the advent calendar number template, print and cut out each number. Lay out the numbers on your felt, alternating between colours or using the colours you wish. Since it can get difficult to keep the numbers in place while cutting and pinning them would stretch the paper, I taped over the numbers and folded to the back of the felt to keep the paper in place. while cutting. I used very sharp regular scissors, I also used thin embroidery scissors as well as tiny curved scissors for the tiny areas.
Pockets:

Fold down 1cm on each end of each of the pocket strips and stitch.

Fold (right sides together) of each pocket in half and create another internal small fold as shown in photo and pin.
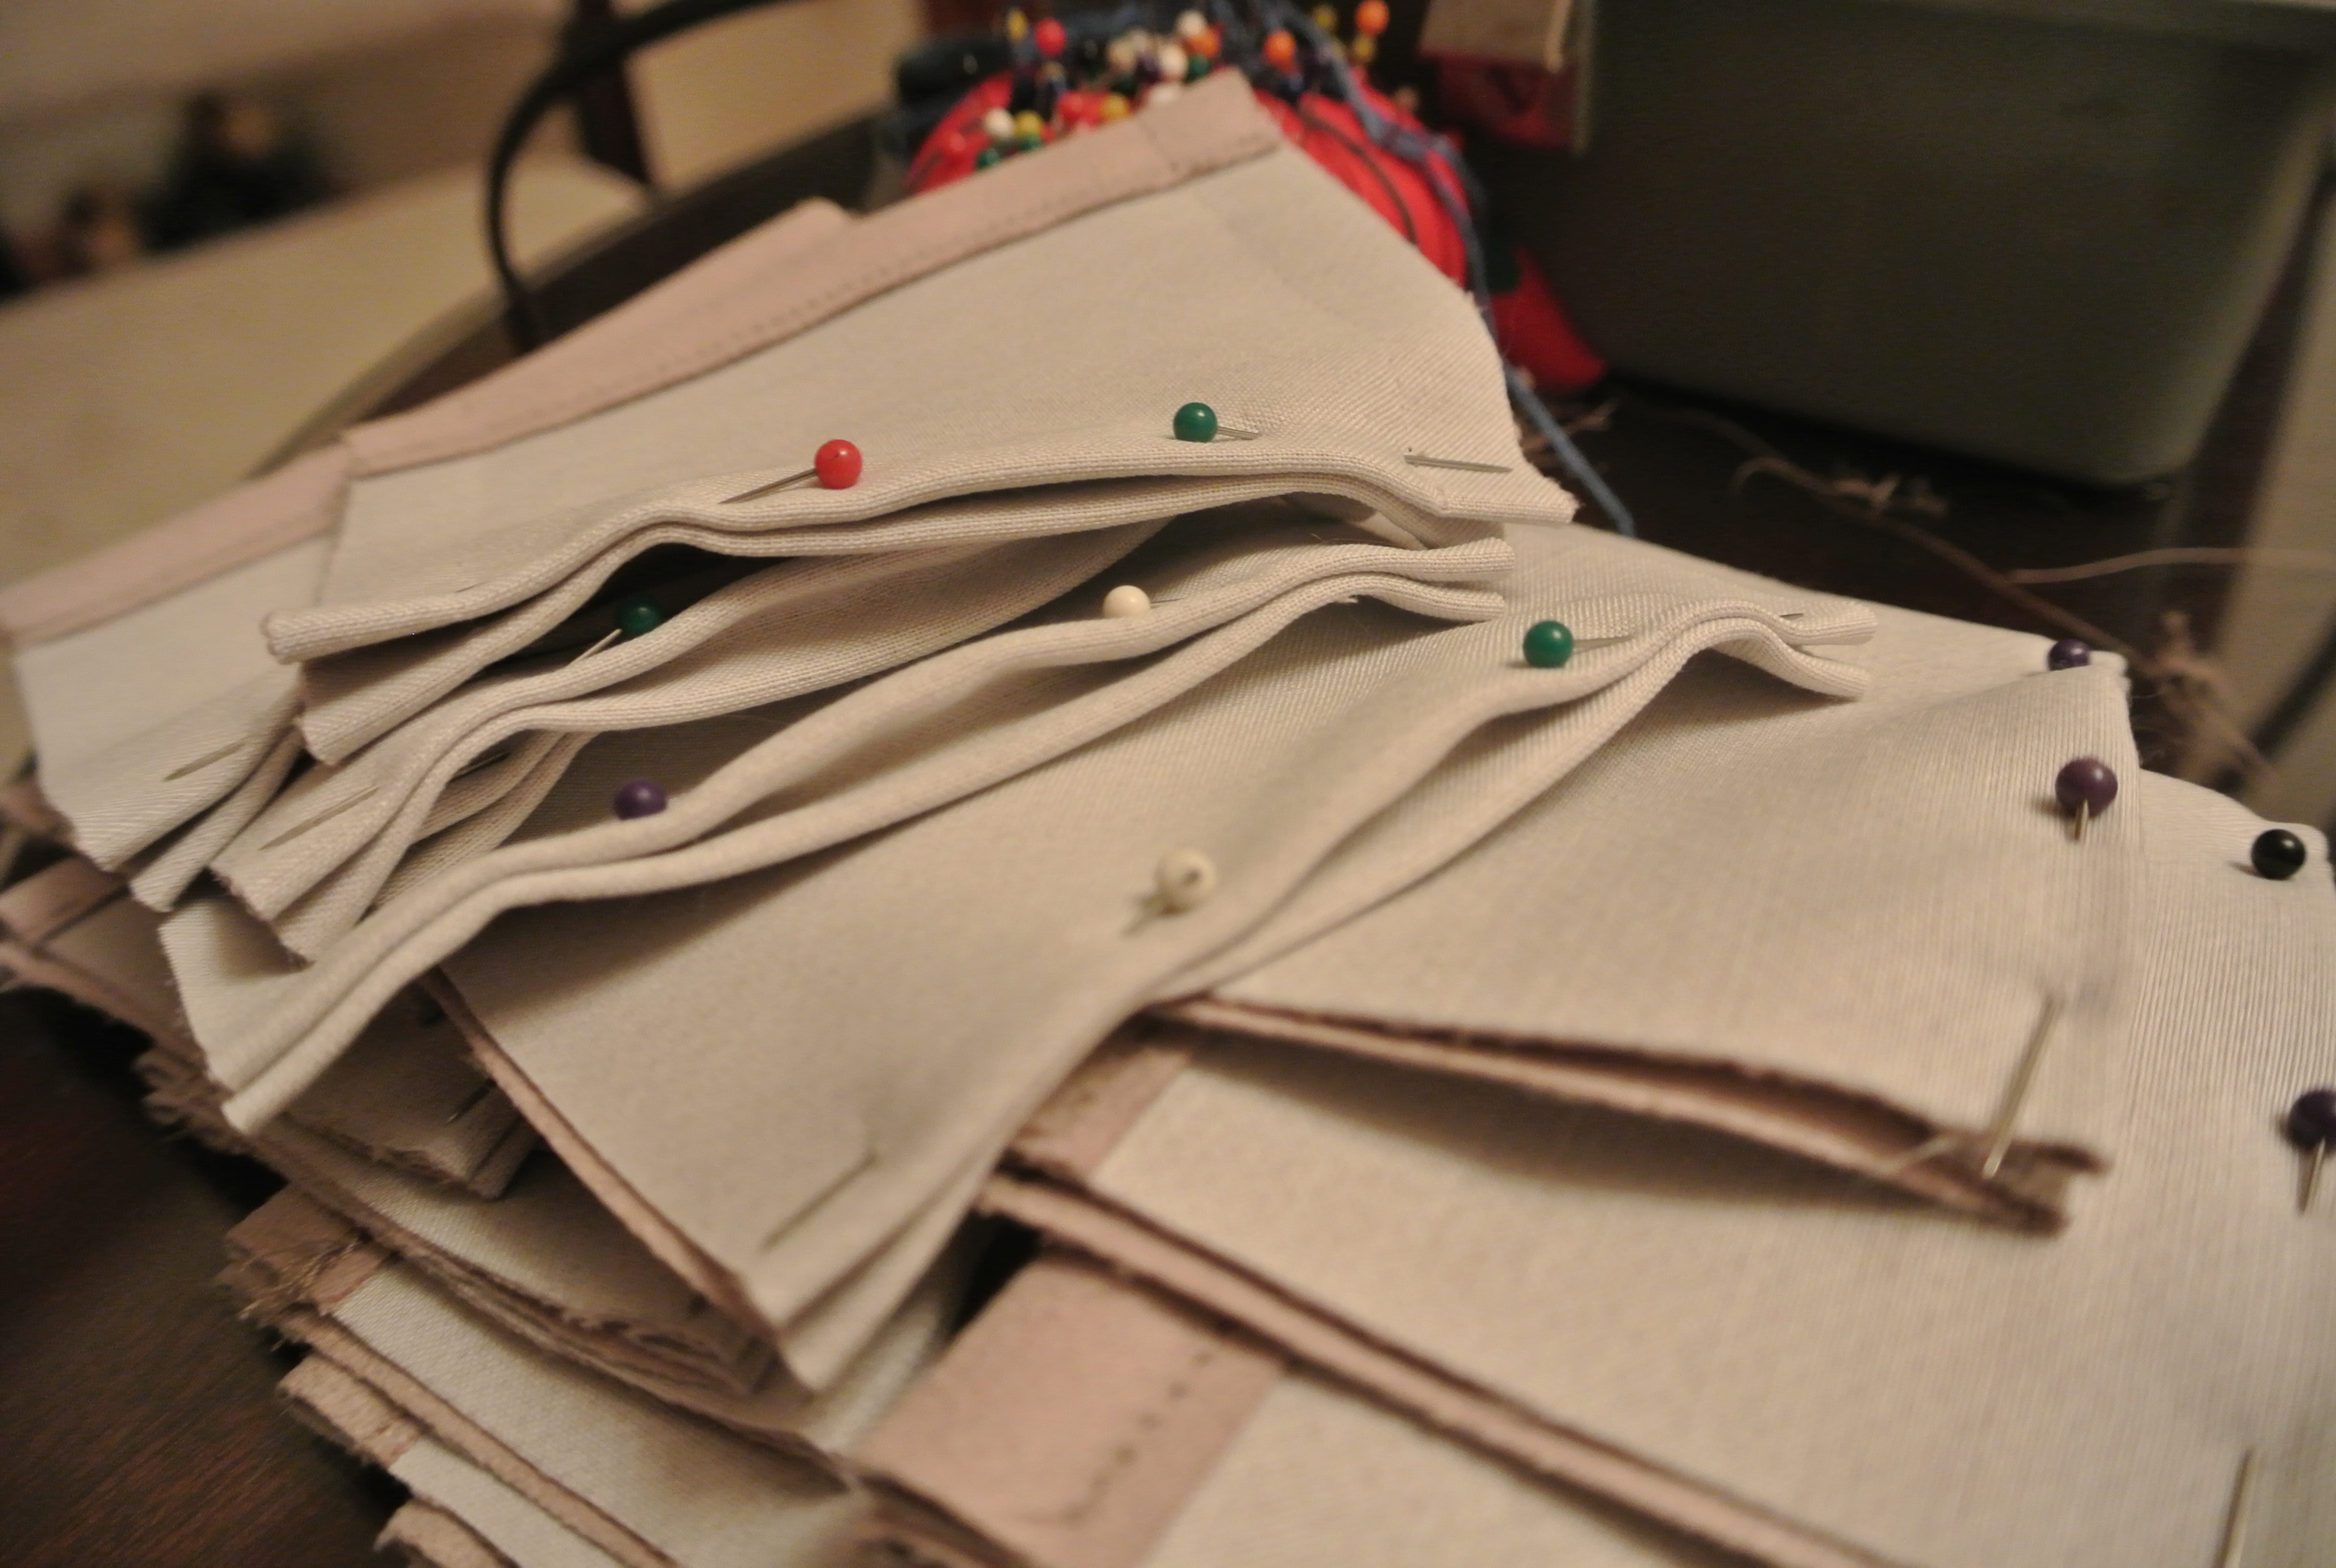 Stitch each side of each pocket. Turn right sides out.
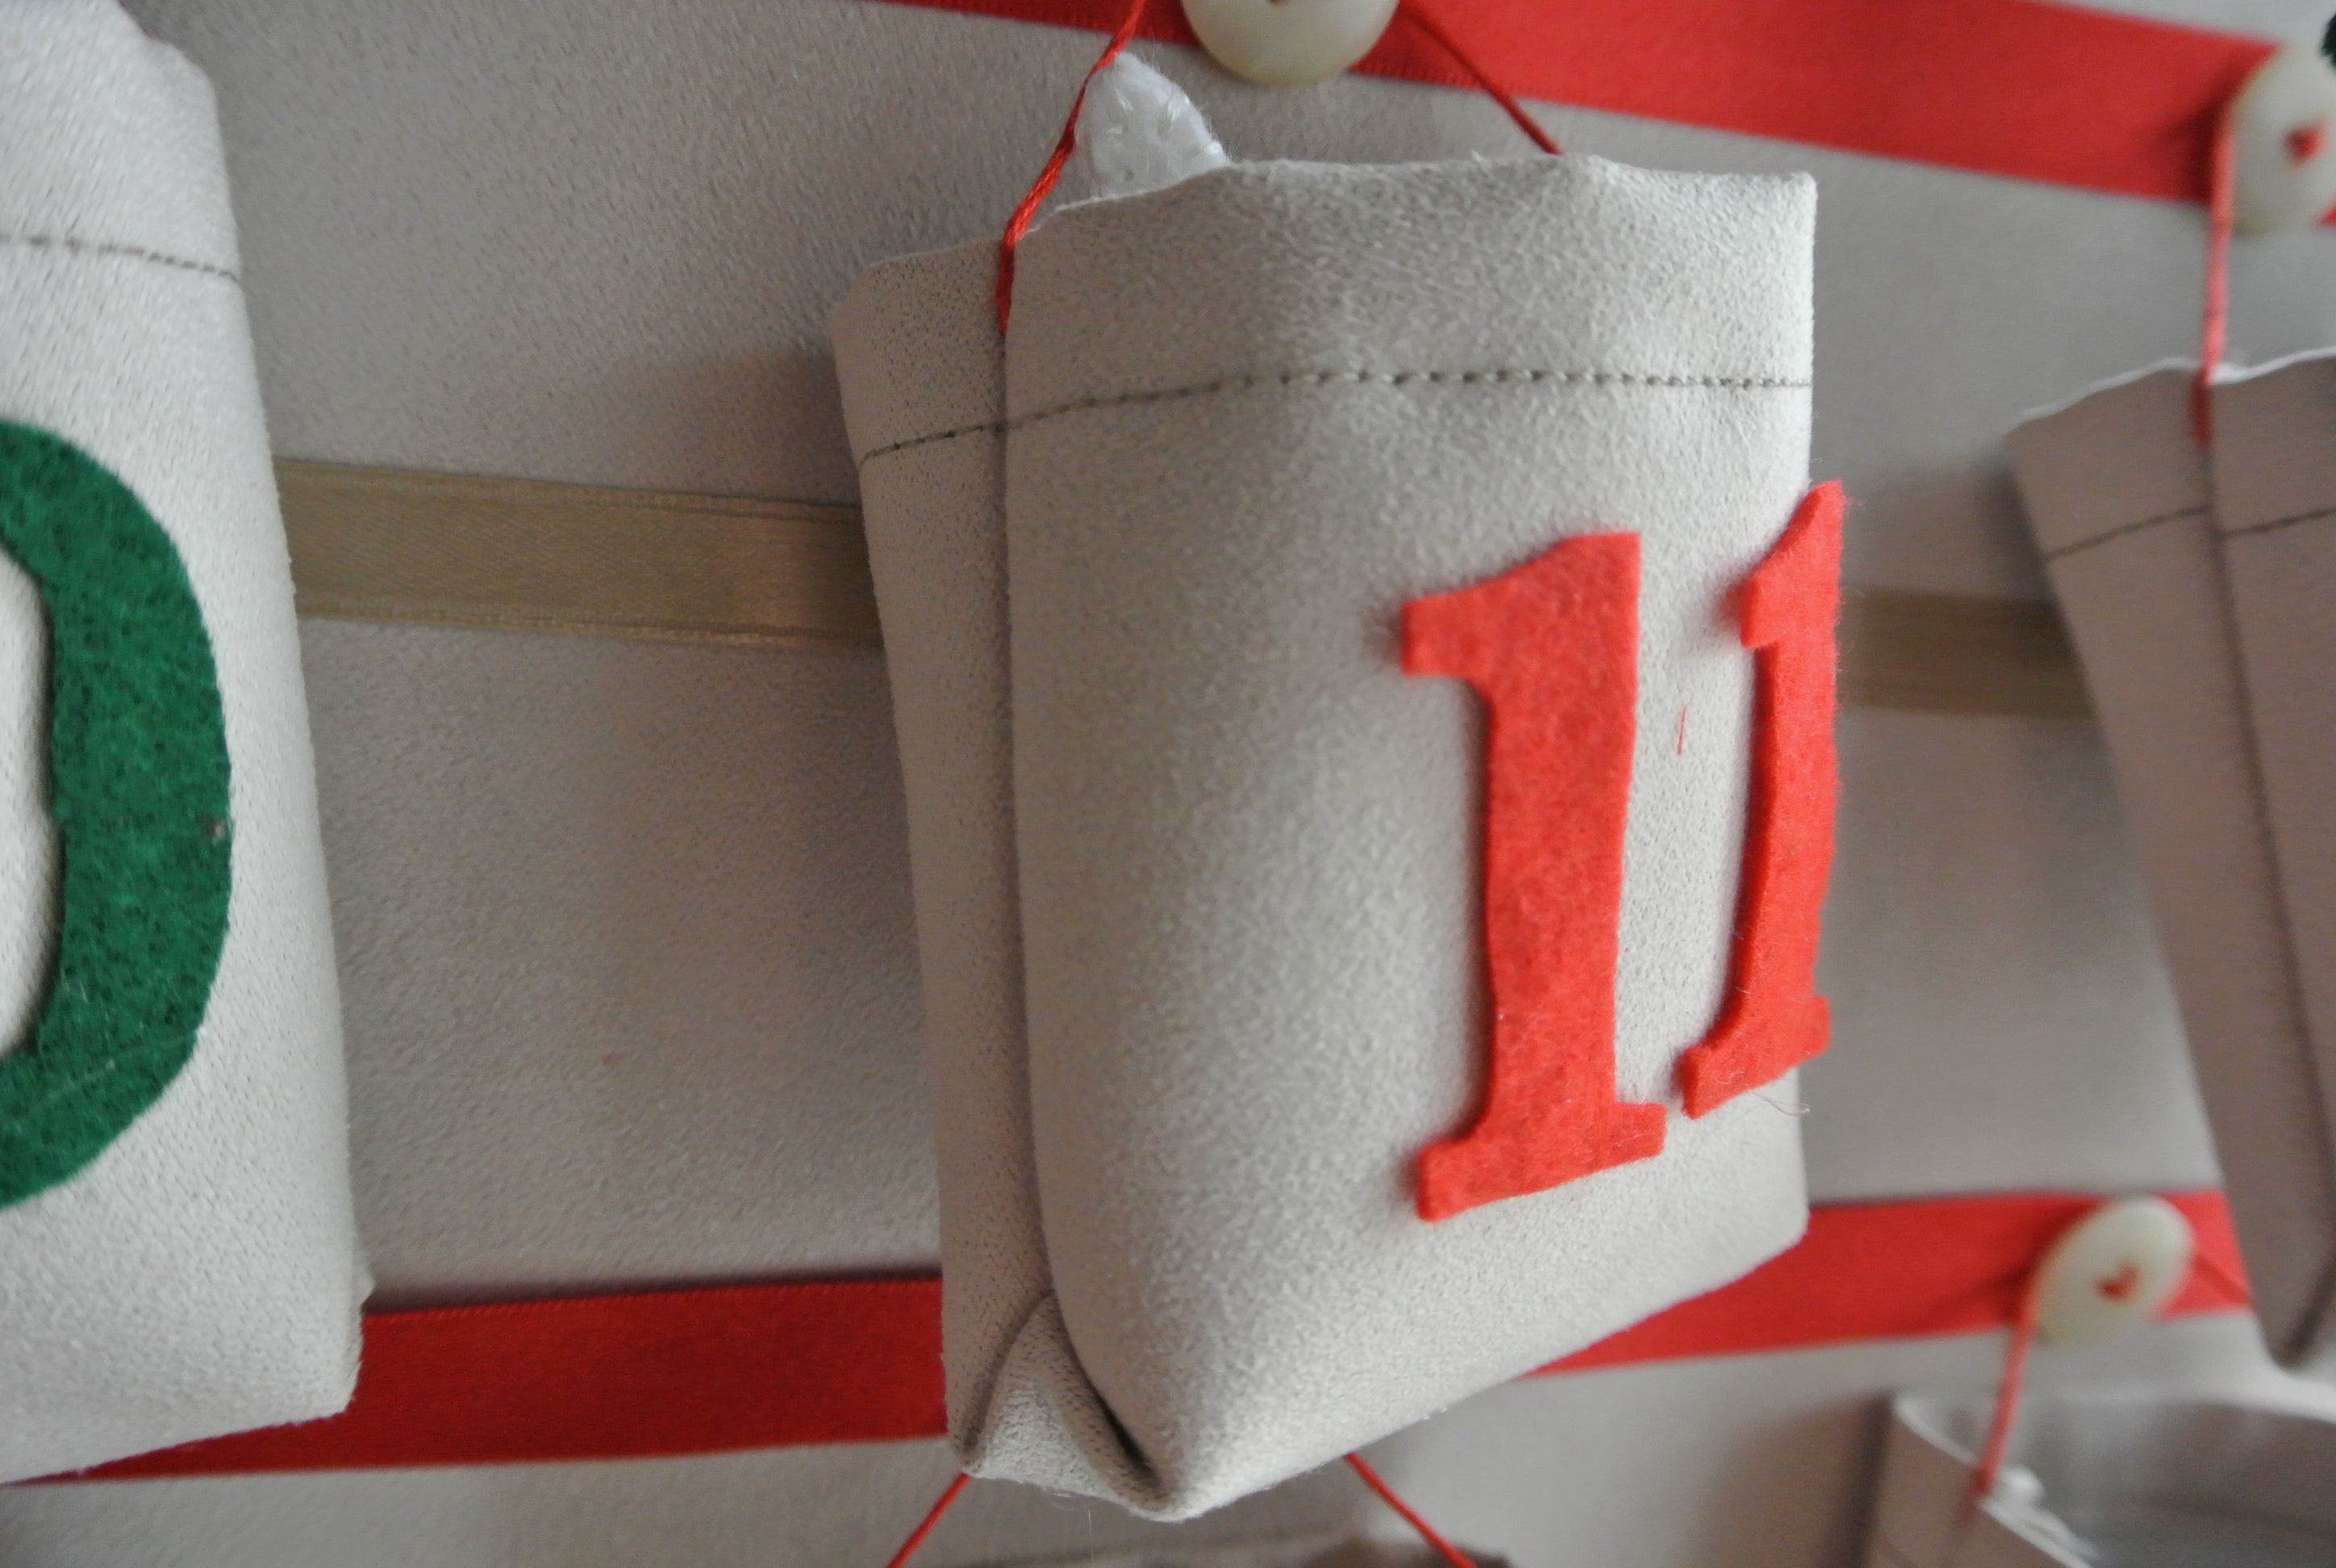 Make an embroidery thread handle by making a stitch on each side of the top of the pocket and leaving enough thread to hand the pocket from.
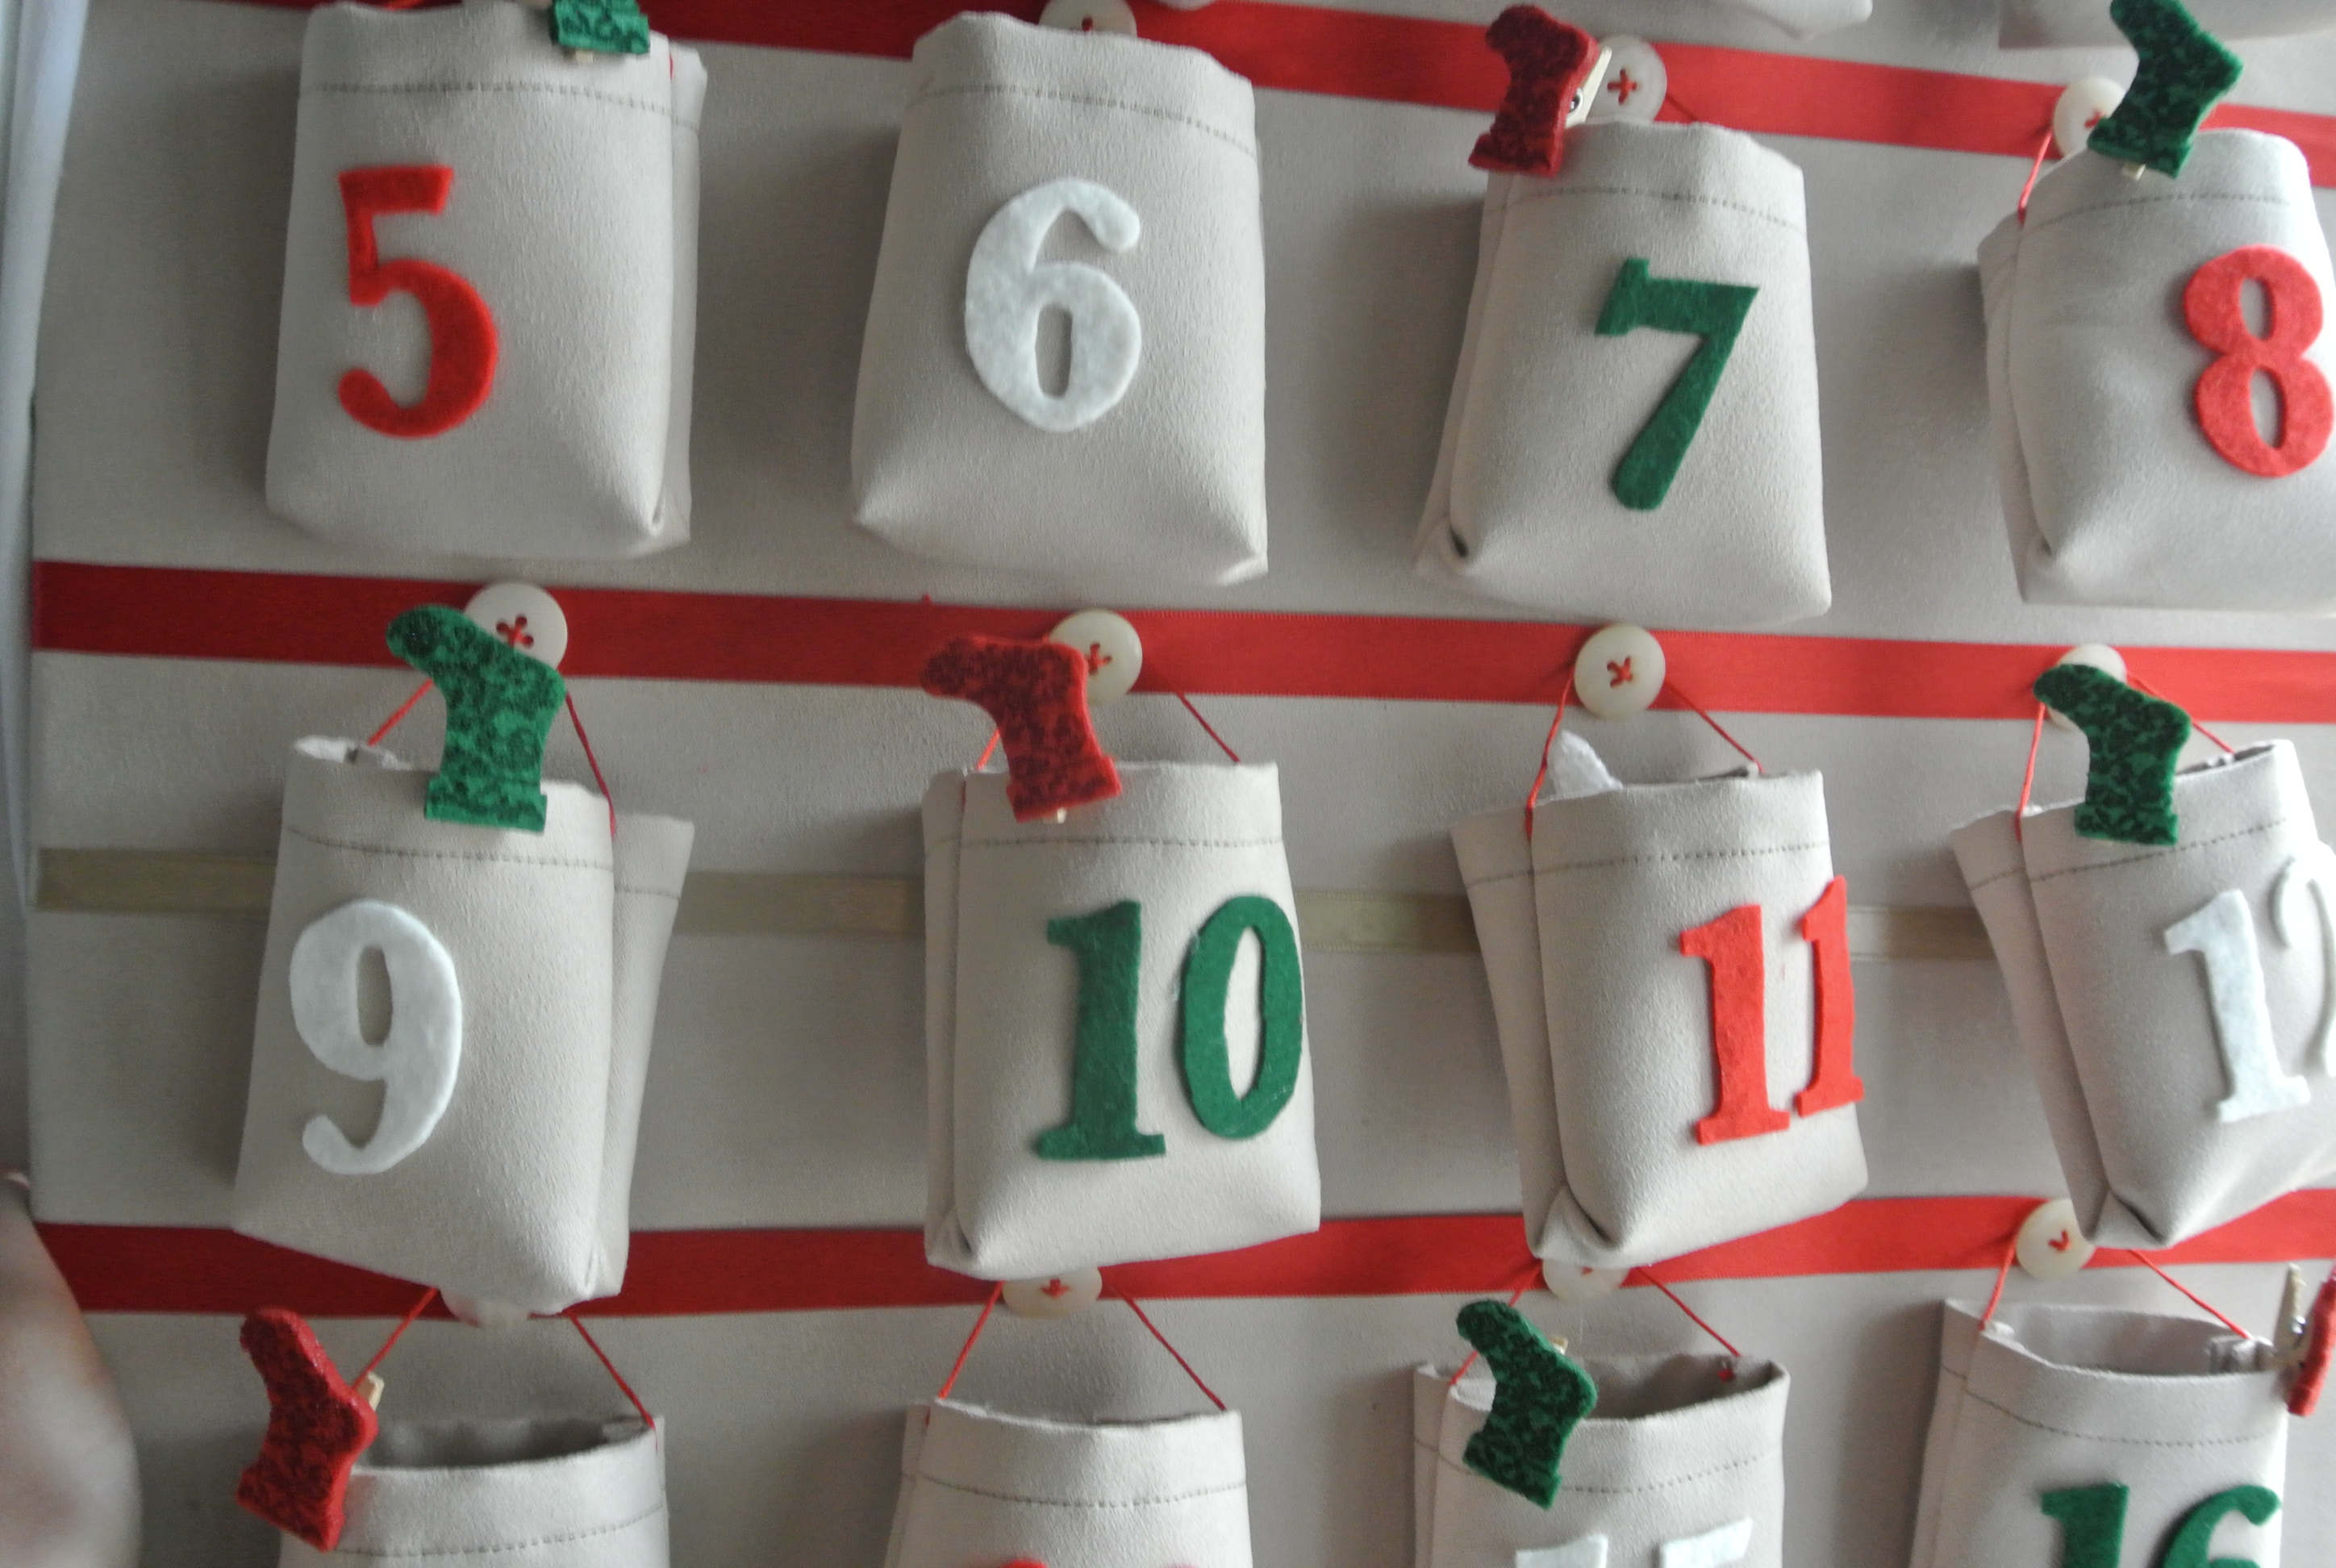
With hot glue, you can glue a number on each of the pockets.
I decorated some of the pockets with little stocking ornaments.
Hang pockets and fill.
See more Christmas inspiration here.

